Installing WordPress on your local machine can be a great way to test new features and experiment with different themes and plugins before making changes to your live blog website. In this article, we’ll walk you through the process of installing WordPress on your local machine using WampServer.
Table of Contents
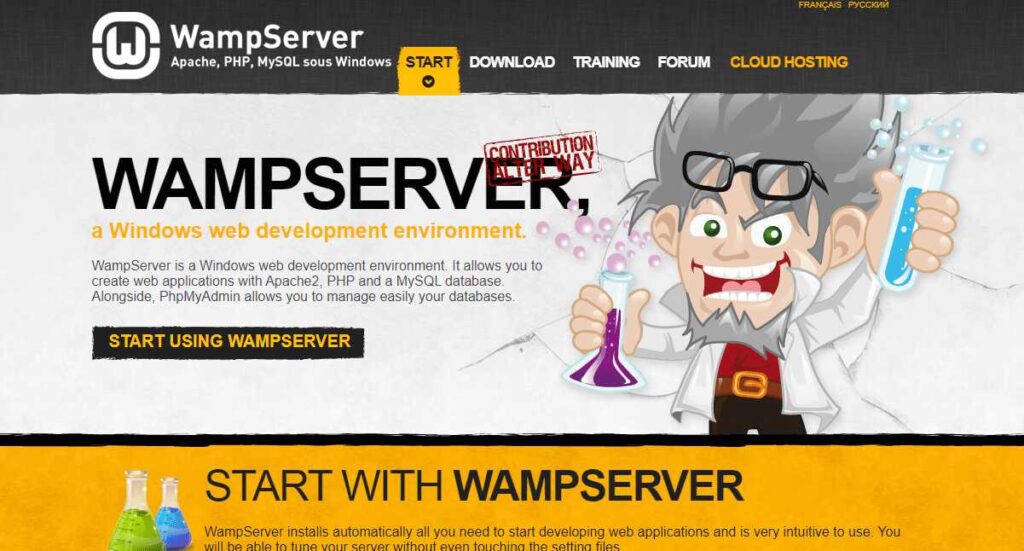
What is WampServer?
WampServer is a free, open-source web development environment for Windows. It allows you to run PHP, MySQL, and Apache on your local machine, making it an ideal platform for testing and developing websites.
In this article, we’ll walk you through the process of installing WordPress on localhost using WampServer.
Step 1: Download WampServer
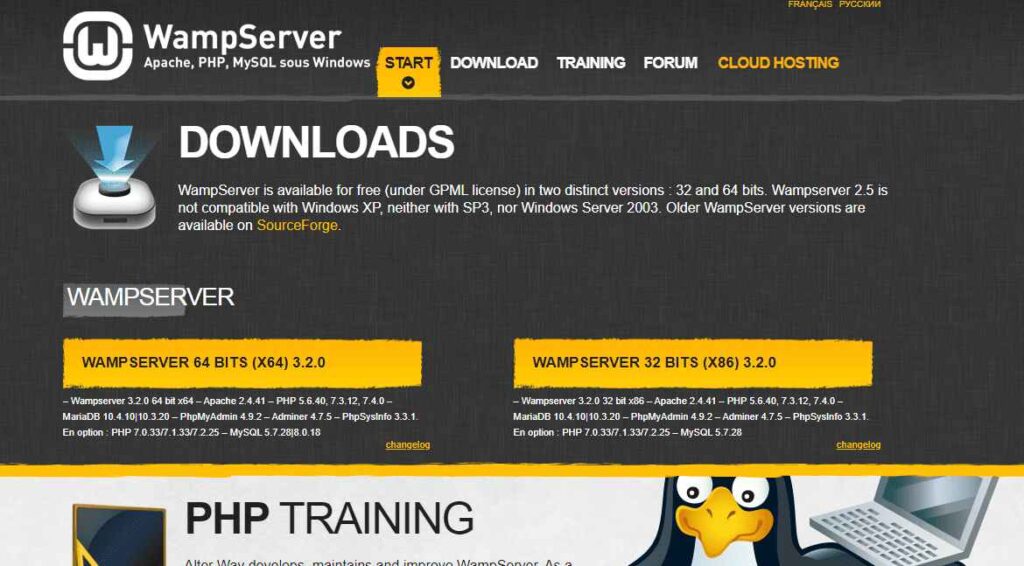
The first step in installing WordPress on localhost is to download and install WampServer. WampServer is a software package that provides a local server environment for developing PHP applications. You can download WampServer from the official website
After downloading WampServer, run the installer and follow the on-screen instructions. When prompted, select the directory where you want to install WampServer. Make sure the Start WampServer now option is checked before clicking “Finish” to complete the installation.
Step 3: Start WampServer
After installing WampServer, start the software by double-clicking on the WampServer icon on your desktop. This will launch the WampServer Control Panel.
Step 4: Create a Database
Before installing WordPress, you’ll need to create a new database. To do this, open your web browser and navigate to http://localhost/phpmyadmin/. This will launch the phpMyAdmin interface, which is used to manage MySQL databases.
Step 5: Download WordPress
Next, download the latest version of WordPress from the official website https://wordpress.org/download/. Save the file to your computer’s hard drive.
Step 6: Extract WordPress
After downloading WordPress, extract the contents of the zip file to the “www” directory in your WampServer installation directory. The “www” directory is the root directory for all web files in WampServer.
Step 7: Configure WordPress
Next, open your web browser and navigate to http://localhost/wordpress/. This will launch the WordPress installer.
Choose your preferred language and click “Continue”. Enter your database details including the database name, username and password you created earlier. Make sure “Database Host” is set to “localhost”. Click “Submit”.
On the next screen, enter your site name, description, and administrator account details. Click on “Install WordPress”.
Step 8: Install WordPress
After configuring WordPress, click “Run the installation” to install WordPress. Enter your admin username and password, and click “Log In”.
Congratulations! You have successfully installed WordPress on localhost using WampServer. You can now start building your WordPress website in a safe and private environment.
Installing WordPress on localhost using WampServer is a simple and straightforward process. By following the steps outlined in this article, you can easily set up a local development environment for building and testing your WordPress website. Whether you’re a beginner or an experienced developer, installing WordPress on localhost is a valuable skill that can help you improve your skills and knowledge of WordPress.